Manual adapter setup in the dashboard
This guide is for workspace users who configure integrations in the DripPulse UI (no API calls required). For API and agent-oriented details, see External tool adapters.
What this page helps you do:
create integration connections in Settings, validate them, and use them inside Workflow Builder with the
integration_action step.
1) Open the Integrations area
- Log in to your workspace.
- Open Settings from the left sidebar.
- Select the Integrations tab.
- Find a provider (Slack, SendGrid, Stripe, etc.) and click Connect or Manage.

Settings page where users can open the Integrations tab and manage provider connections.
2) Fill the connection form correctly
The integration modal asks for four areas:
- Connection key: use
defaultunless you intentionally keep multiple credentials per provider (for examplemarketingvssupport). - Status:
activelets workflows use this connection;disabledkeeps it saved but inactive. - Note: optional label for owner/environment/context.
- Credentials: provider-specific secrets and IDs.
Secrets are encrypted server-side and are never shown back in full after saving. If you need to rotate a value, re-enter that field and save again.
3) Provider credential checklist (UI fields)
| Provider | Credential fields in the Settings form |
|---|---|
google_workspace | access_token, refresh_token, client_id, client_secret, sender_email, token_url |
microsoft365 | access_token, refresh_token, client_id, client_secret, token_url |
slack | webhook_url, bot_token, default_channel |
hubspot | access_token, refresh_token, client_id, client_secret, token_url |
salesforce | instance_url, access_token, refresh_token, client_id, client_secret, api_version, token_url |
stripe | secret_key |
sendgrid | api_key, default_from_email |
zoom | access_token, refresh_token, client_id, client_secret, token_url |
zendesk | subdomain, email, api_token |
gong | access_key, secret_key |
Practical notes for users
- Slack: you can use either
webhook_urlorbot_token. If you use a bot token, setdefault_channel. - SendGrid: set
default_from_emailto a verified sender/domain. - Salesforce:
instance_urlmust be the org URL (not the login URL). - Zendesk:
subdomainis just the subdomain value, not a full URL.
4) Save and test the connection
- Click Save connection (or Update connection).
- Back in the provider row, click Test connection.
- Confirm a success message appears for the provider + connection key.
If test fails, review credential fields, status, and token freshness. For OAuth providers, use Refresh token when available.
5) Use adapters inside a workflow
- Open Workflows.
- Create or open a workflow.
- Add an Integration Action step.
- Set
integration_id,action, optionalconnection_key, andpayload.
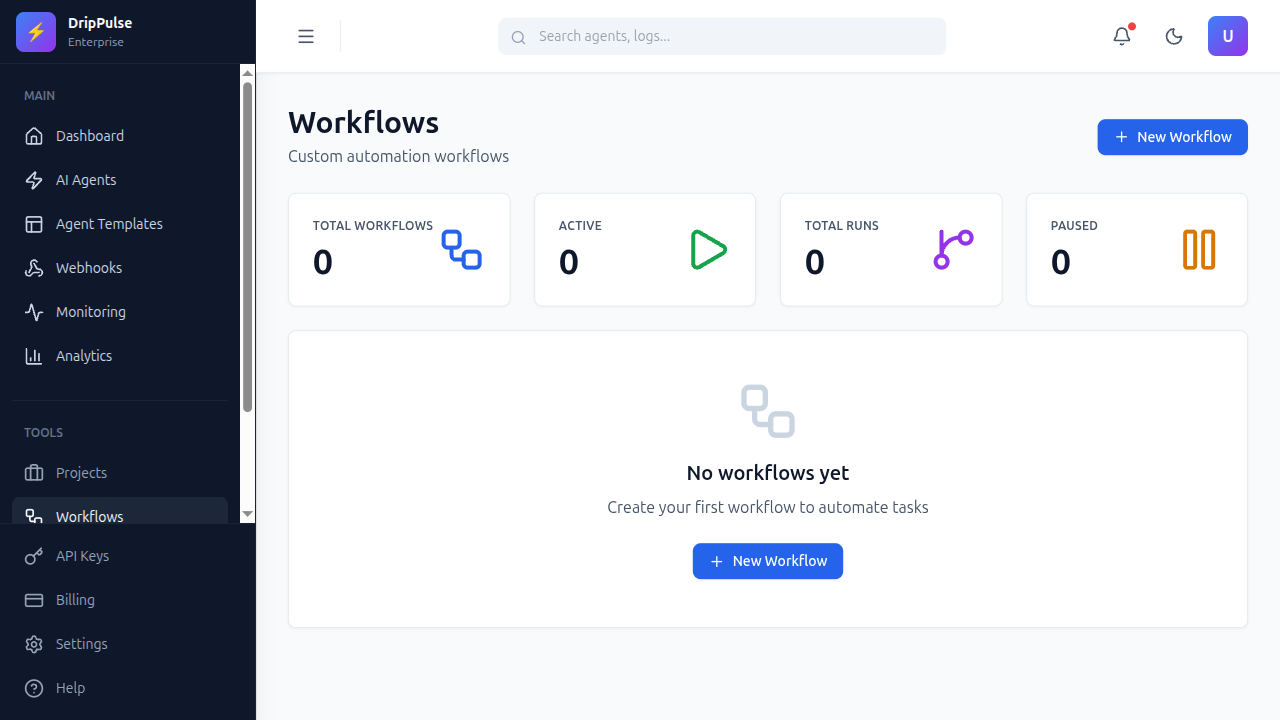
Workflows page where users create and edit automations that include Integration Action steps.
Field meanings in Integration Action
integration_id: provider key (for exampleslack,sendgrid,stripe).action: provider operation (for examplepost_message,send_email).connection_key: match the key you used in Settings (usuallydefault).payload: JSON input for that action; string fields may use placeholders like{{email}}.
6) Copy/paste JSON examples
Slack message
{
  "integration_id": "slack",
  "action": "post_message",
  "connection_key": "default",
  "payload": {
    "text": "Lead {{email}} reached score {{score}}"
  }
}
SendGrid email
{
  "integration_id": "sendgrid",
  "action": "send_email",
  "connection_key": "default",
  "payload": {
    "to": "{{email}}",
    "subject": "Welcome to DripPulse",
    "text": "Thanks for joining."
  }
}
Stripe metadata update
{
  "integration_id": "stripe",
  "action": "upsert_customer_metadata",
  "connection_key": "default",
  "payload": {
    "email": "{{email}}",
    "metadata": {
      "segment": "onboarding",
      "lead_score": "{{score}}"
    }
  }
}
7) Test mode vs live mode (important)
- Workflow test run (
POST /api/v1/workflows/:id/test): adapter calls are stubbed (no external side effects). - Live workflow execution: adapter calls run against real providers using your saved integration connection.
8) Troubleshooting for manual users
integration_not_configured: workflowconnection_keydoes not match an active Settings connection.unsupported_integration_action: action is not supported for that provider.- Provider HTTP/auth errors: credentials may be valid shape but missing scopes/permissions/provider-side setup.
- Missing required payload field: add required keys like
subject,text,emaildepending on action.

Optional: API Keys area for teams that also run programmatic tests alongside manual UI setup.
Need deeper provider payload and API details? Use External tool adapters and API reference: integration connections.